
How To Make Perfect Cheese Scones

When Terry and I married in 1983 I quickly learned that I’d have to provide a LOT of food to lots of people — and often with very little notice.
Sales reps and stock agents called in regularly and most negotiations were conducted over a cuppa.
And I catered for every big job on the farm.
From haymaking and harvesting to crutching and shearing, I’d be carting “smokos”, lunches, dinners and sometimes suppers out to the woolshed or paddocks all over the farm, depending where the work was going on.
Fortunately, I had a bit of time to learn. My mother-in-law was legendary for her baking, and she started me off slowly. I made the mousetraps and sandwiches, while she provided the biscuits, cakes and buns.
I could never compete with her baking skills. I’m way too haphazard a cook, and even when I tried to follow her recipes things never turned out the same.
Eventually, I took over the food completely and had to develop my own baking style — and that includes producing scones at the drop of a hat.
My road to the perfect cheese scone has been a long one. It started in 1980 after a “bake off” with my boyfriend. At the time scones were the one thing I actually knew how to bake. So when Neill showed me his scone recipe — which was very different from the one I used — I was somewhat scathing about it. I distinctly recall saying “that’ll never work.”
Naturally he challenged me to a scone baking contest. He cooked every day. I could barely boil an egg. What was I thinking?
Of course he won the contest, hands down. His scones were light, moist and HUGE. Mine were tiny and tasteless.
I buried the remnants of my pride and wrote down his recipe.
It’s morphed over the years — just last year my daughter, Jenny, tried oil instead of melted butter. Result: the scones were even lighter and she skipped the butter melting step.
So now, here it is. Our latest recipe for making light and delicious, perfect cheese scones.
Lyn’s Cheese Scones
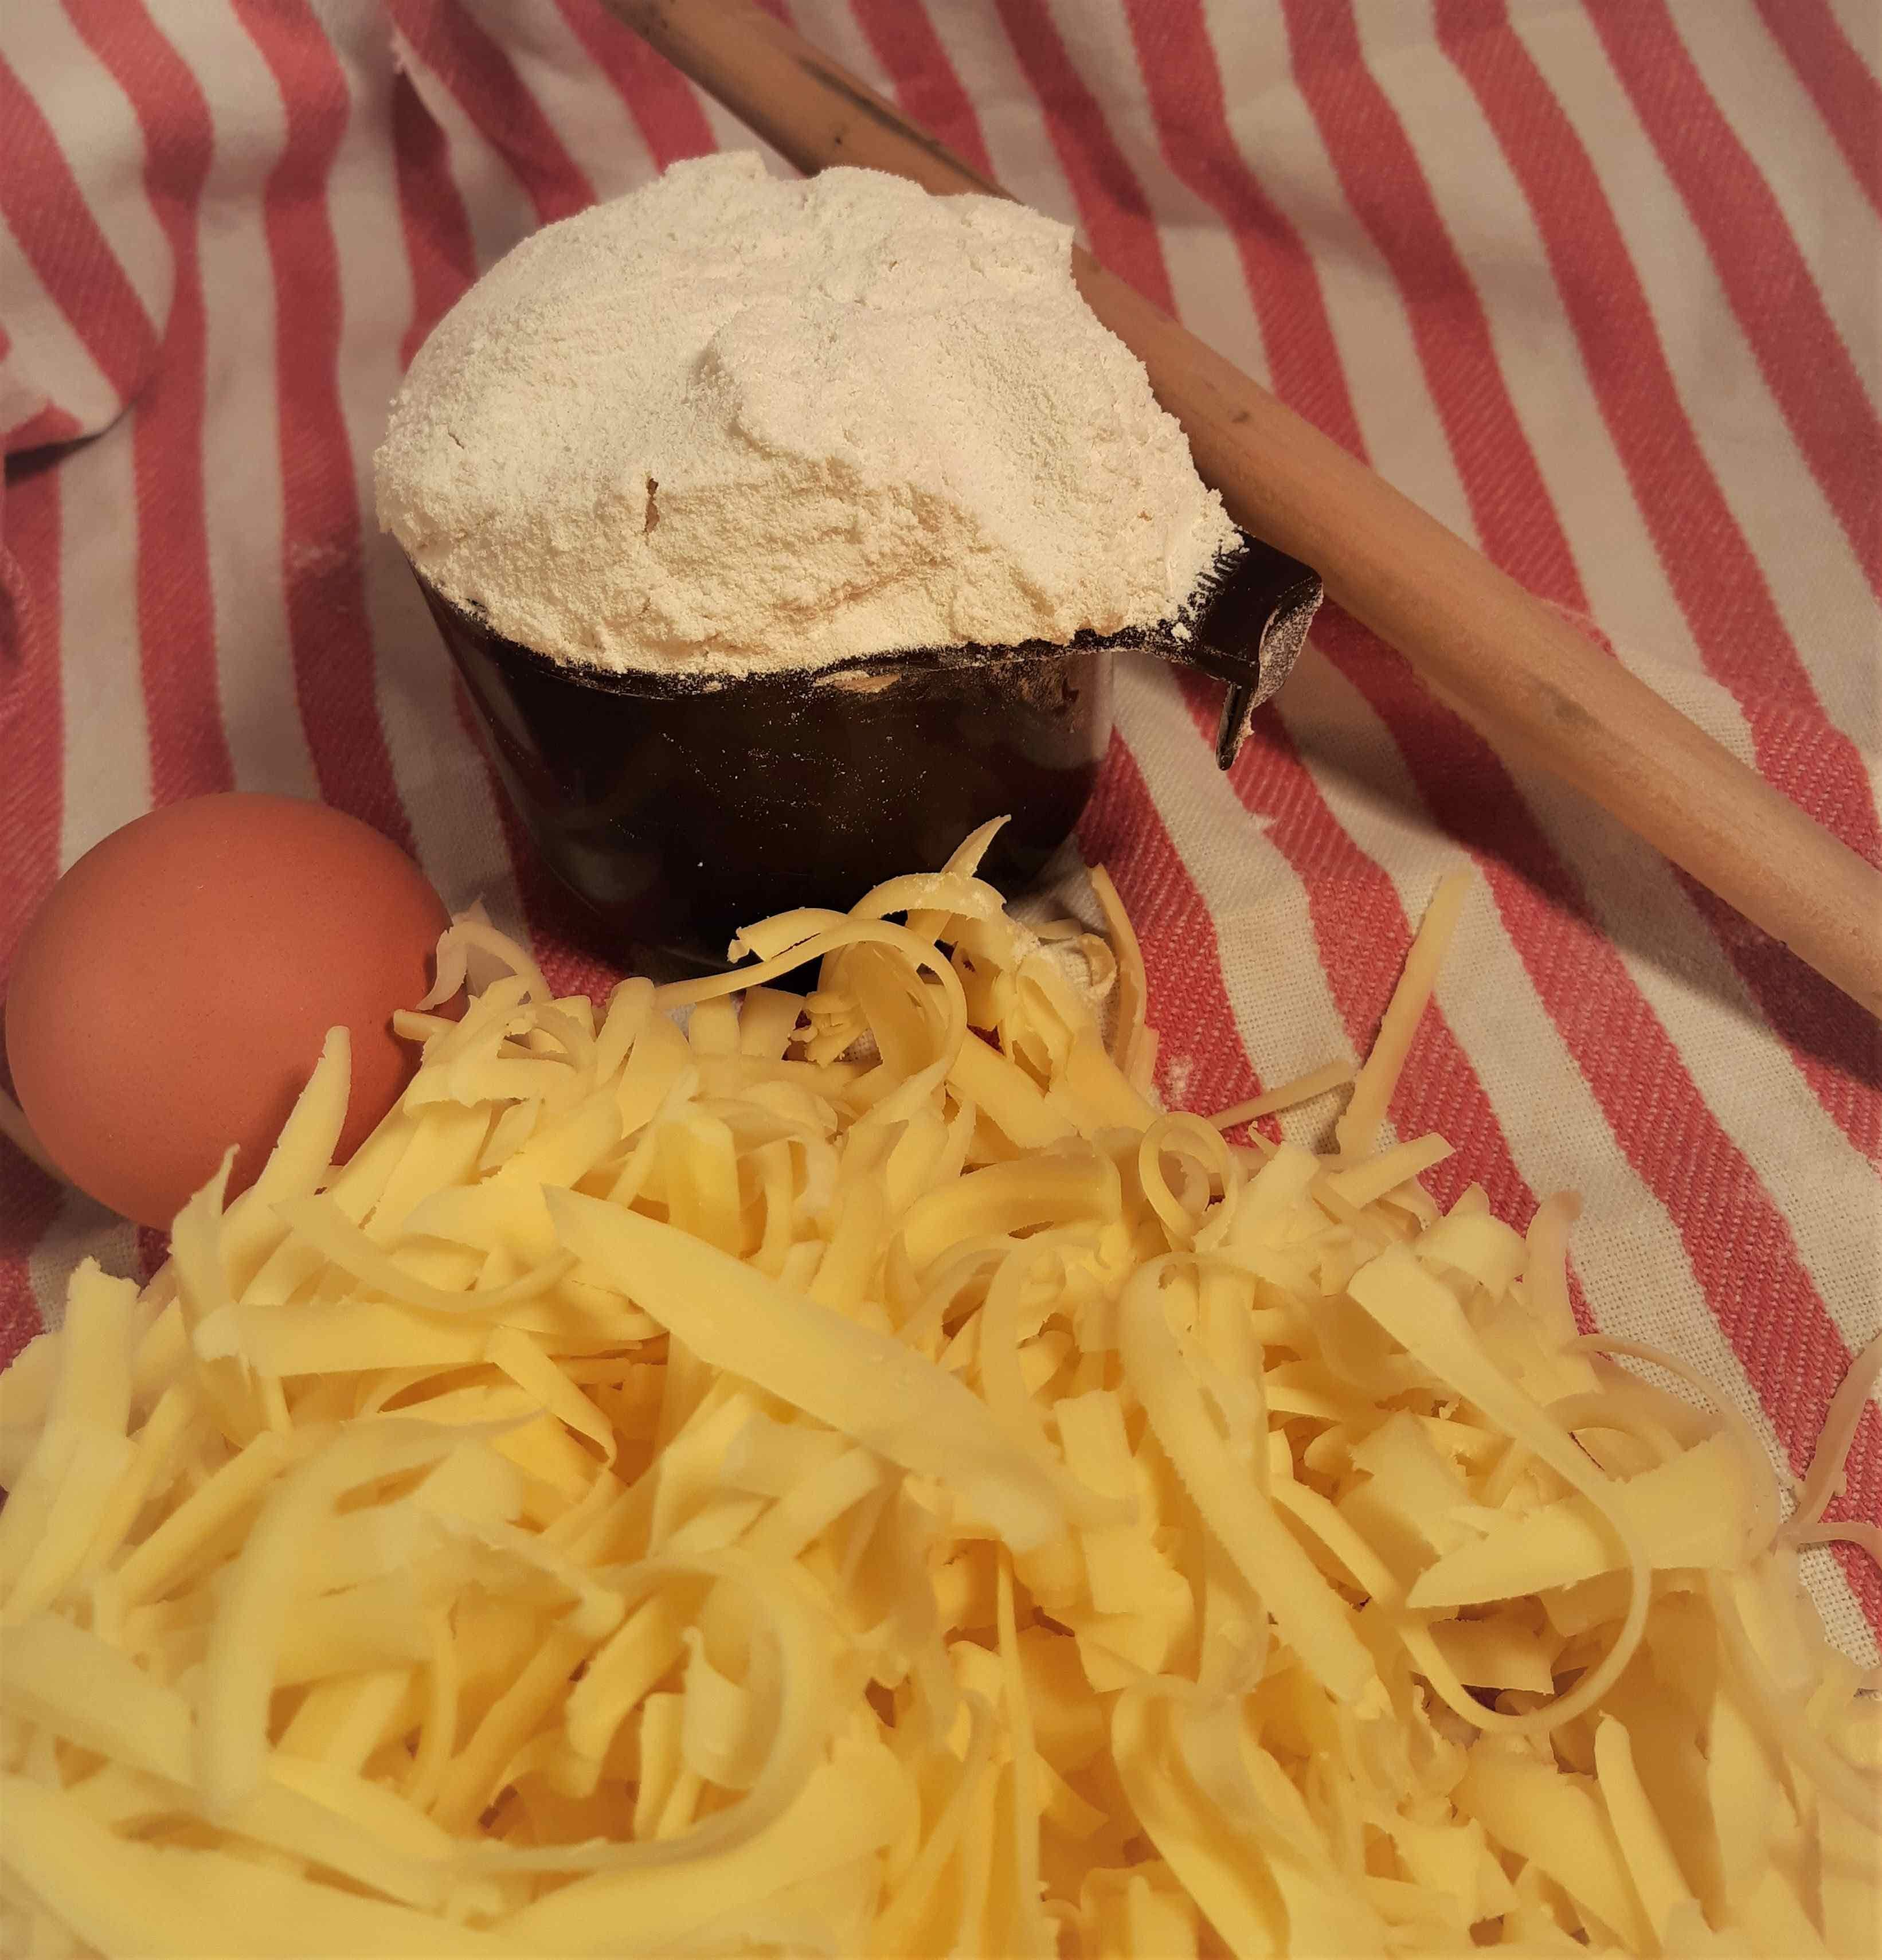
2 heaped cups of plain flour or gluten free flour (Jenny reckons the Woolworths gf flour is best)
4 heaped tsp baking powder
2 cups tasty cheddar cheese (shredded)
1 egg
1 dessert spoon sugar
50g butter (melted) or approx 25ml cooking oil
Approximately 1 cup milk*
pinch salt
*You may need a little more milk than this, depending on how much you’ve heaped the cups of flour.
What to do:
Preheat the oven to 200°C. I use fan bake.
Combine flour, baking powder, salt and cheese into a large bowl.
Make a well in the dry ingredients. (A well is like a hollow or depression.)
Mix egg and sugar in a cup and pour into the well. Don’t mix it in yet.
Melt the butter and add it to the well. Still don’t mix.
Pour 1 cup of milk into the well. Now you get to mix.
Use a spurtle (see Tip No. 1) to combine the ingredients so they form quite a sticky dough (see Tip No. 3). Add more milk if necessary.
Turn out onto a floured surface and gently squeeze the mixture with both hands to further combine. (See Tip No. 4)
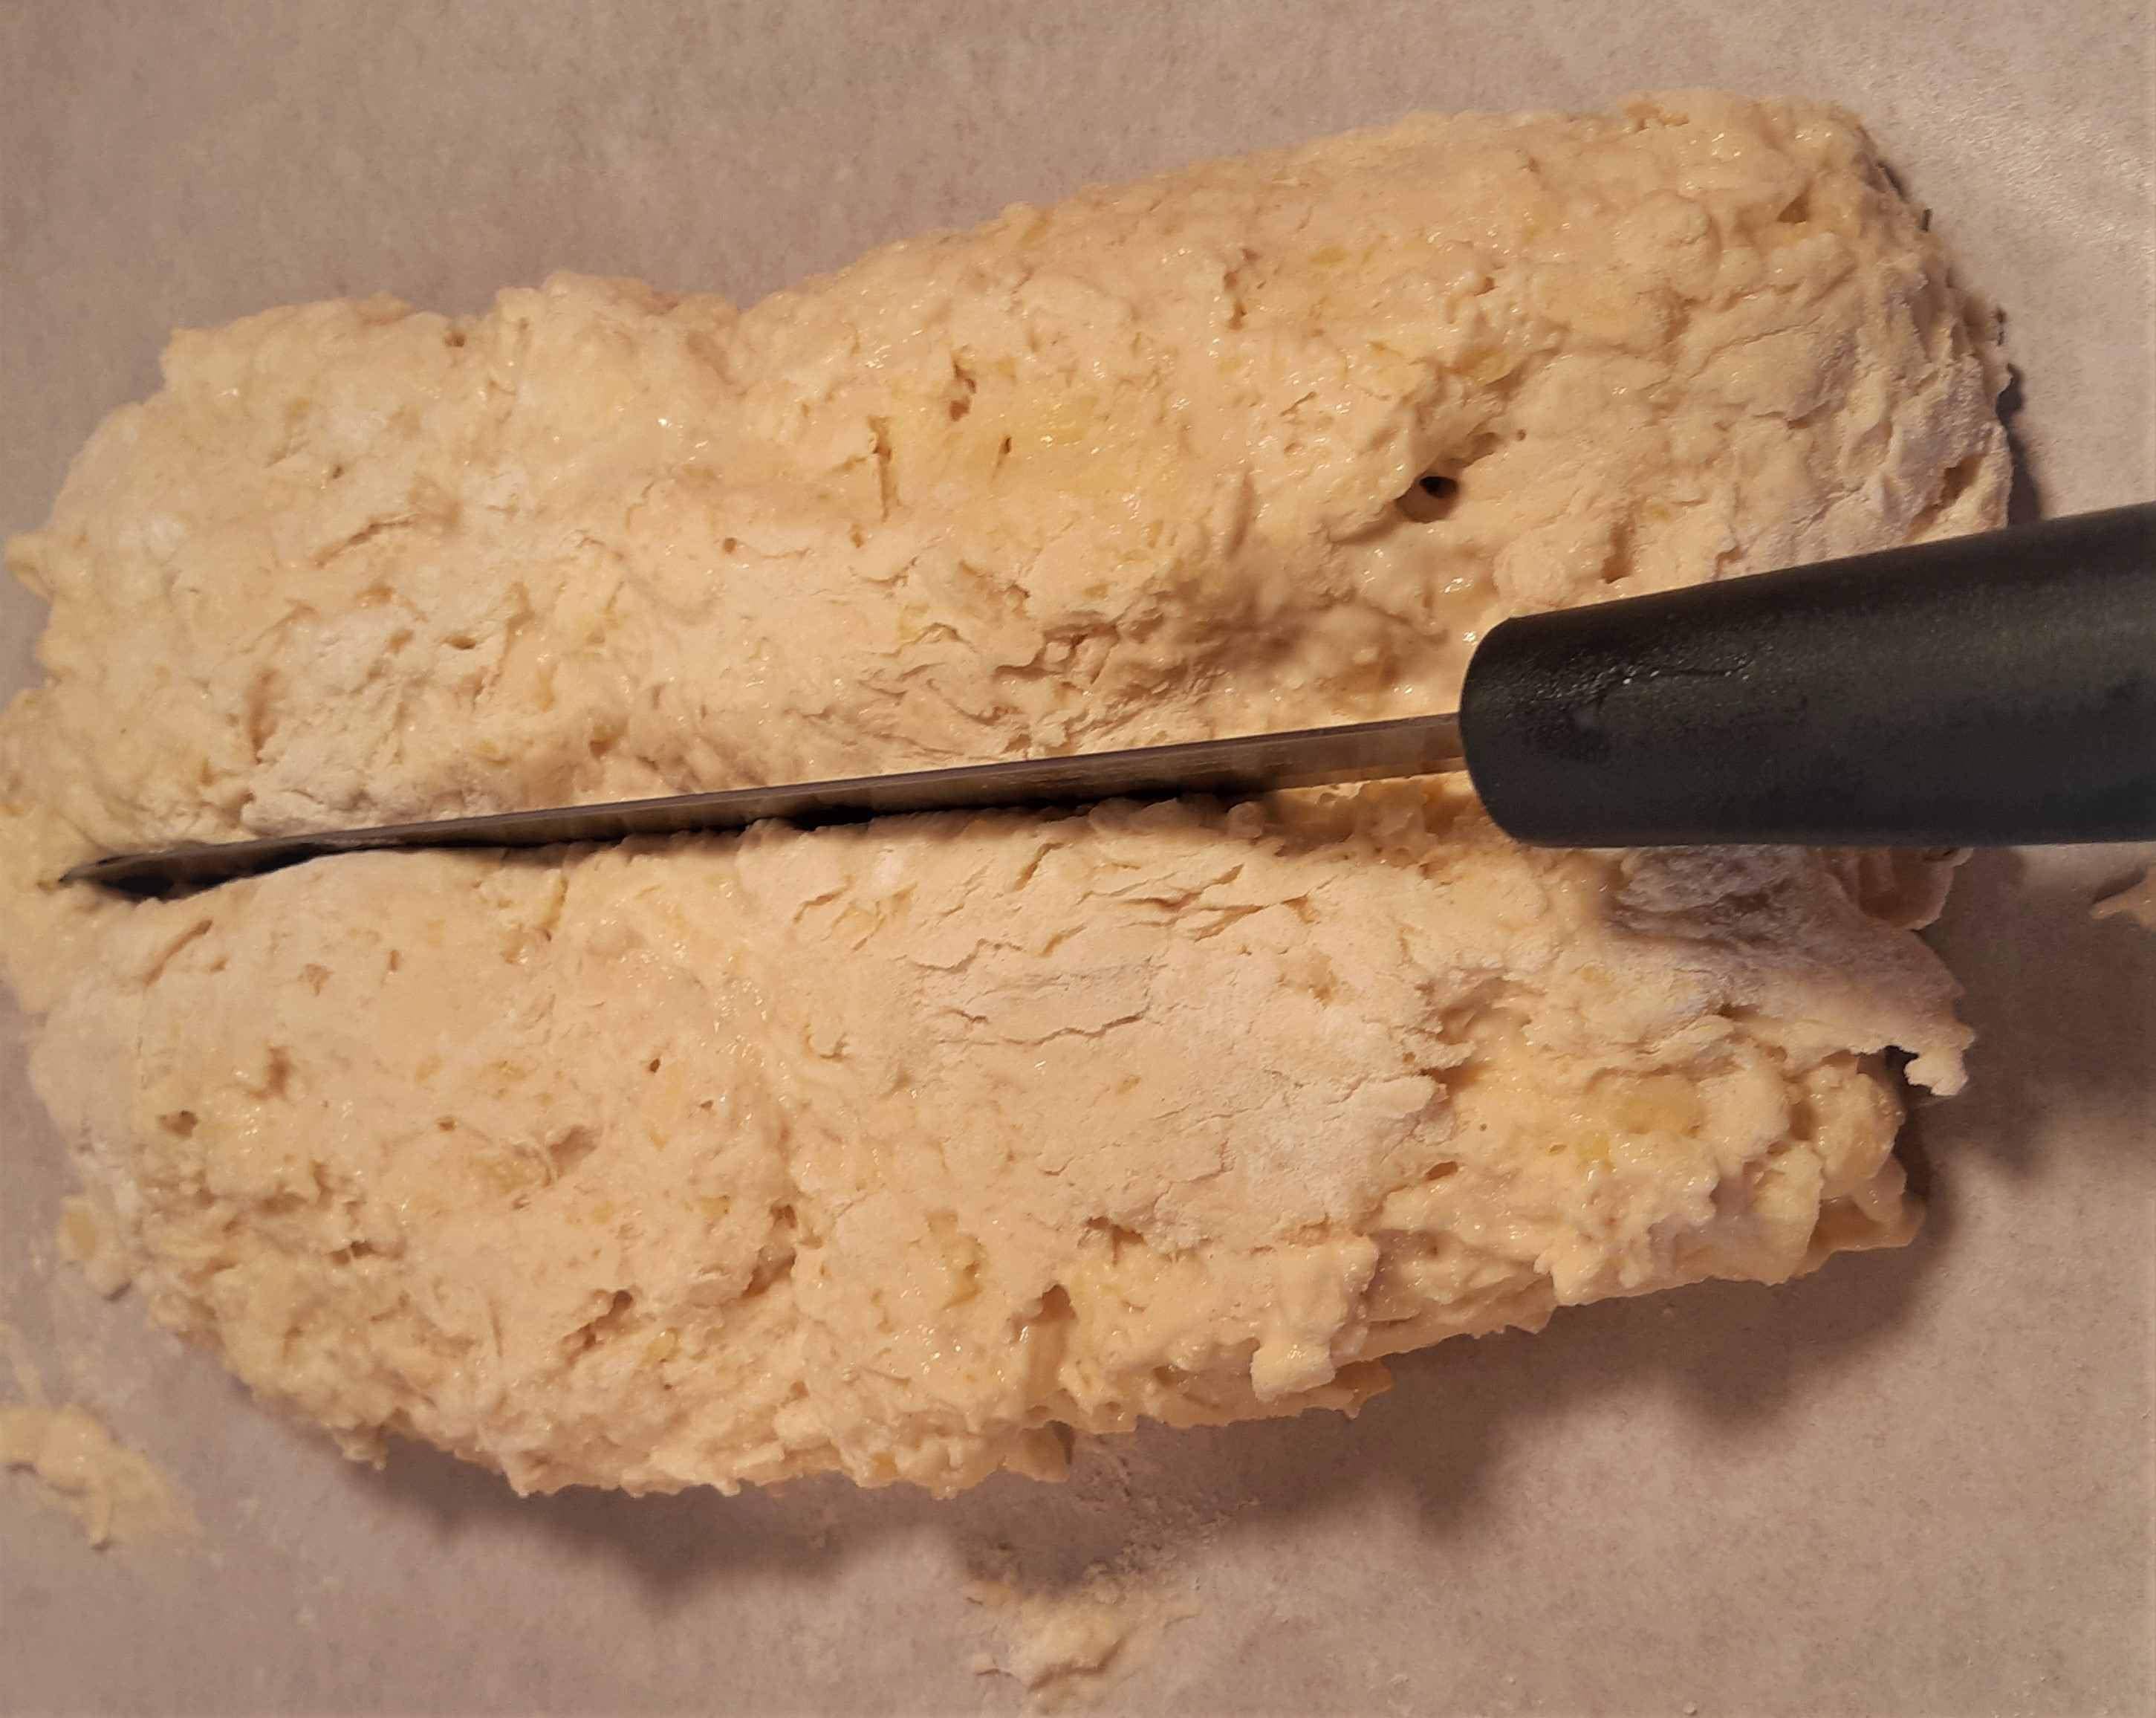
Press, roll and pat with your hands until you’ve formed a long, fat rectangle.
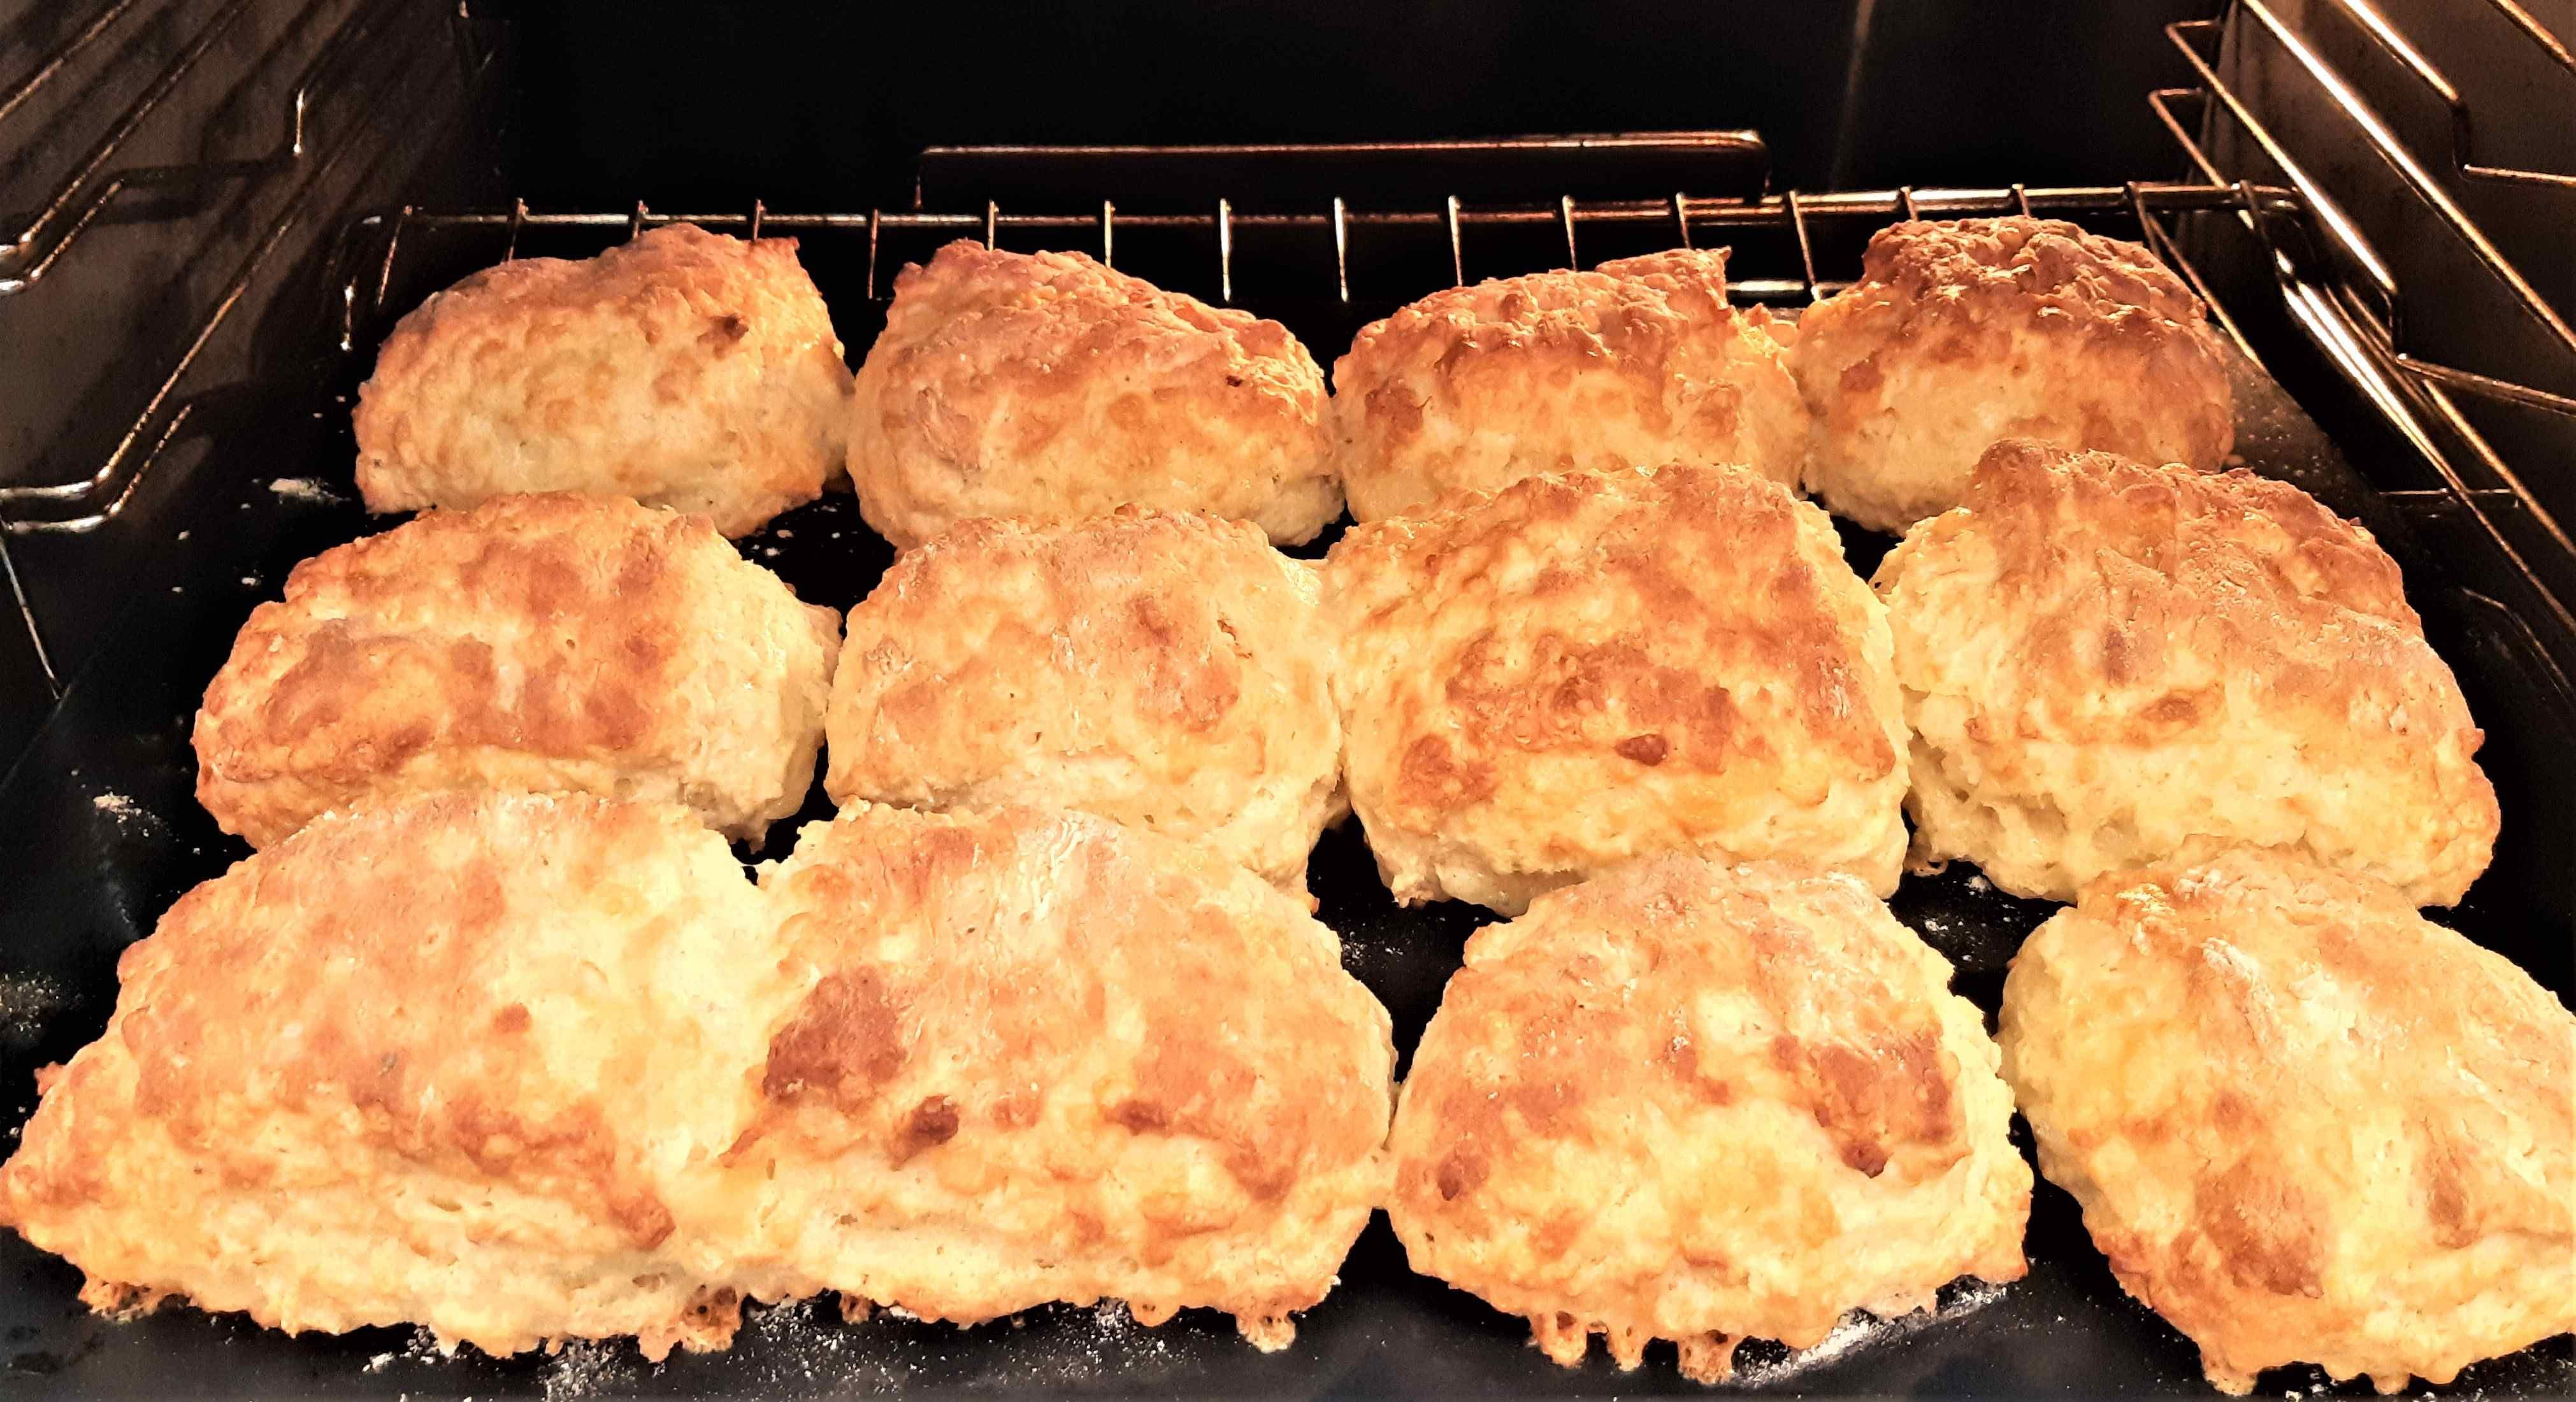
Cut in half lengthways, and then cut each half into 6 pieces. Place the 12 scones onto a metal baking sheet, slightly separated. They shouldn’t stick to the tray.
Bake at 200°C for 13-15 minutes. Makes 12
Notes:
Perfect cheese scones are best served warm, with your favourite toppings. I like lashings of butter. Others prefer to add jam; my Farmer always tops his with honey. Some of the family love to add slices of tomato and ham, and — if you’re in New Zealand — you can always add some Vegemite. (A special savoury topping, loved by New Zealanders and Australians.)
These scones will keep for a day in an airtight container, or can be frozen for up to 3 months. You can refresh them in the microwave, wrapped in a dry paper towel.
Five Tips to Make You a Scone Expert
# Tip 1 — Use a spurtle to mix your scones.
A scone mixture shouldn’t be stirred. Instead you pull a spurtle through the mixture, almost as if you’re cutting it. As you cut, turn it over to mix. Stop mixing as soon as the dough comes together.
If you don’t have a spurtle, a blunt knife is the next best option.
# Tip 2 — Be generous with your measurements.
Scones respond well to generosity. My cupfuls look like mini flour mountains.
# Tip 3 — The dough should be somewhat sticky and moist.
It should still be dough-like, but dry dough equals dry scones. It’s better to make it slightly too wet than too dry. You can always add more flour to the board when you tip the mixture out, to counteract any excess stickiness.
# Tip 4 — Don’t over-mix the dough.
As soon as it comes together, turn it out onto a floured surface. Squeeze and pat it with your hands until it forms into a long, fat sausage. The less you have to handle it the better. Having said that, over-mixing is not a catastrophic mistake. The scones will still taste great but might not be quite as light.
# Tip 5 — Practice makes perfect.
The more you make these, the better they—and you— will get.